How to Use:
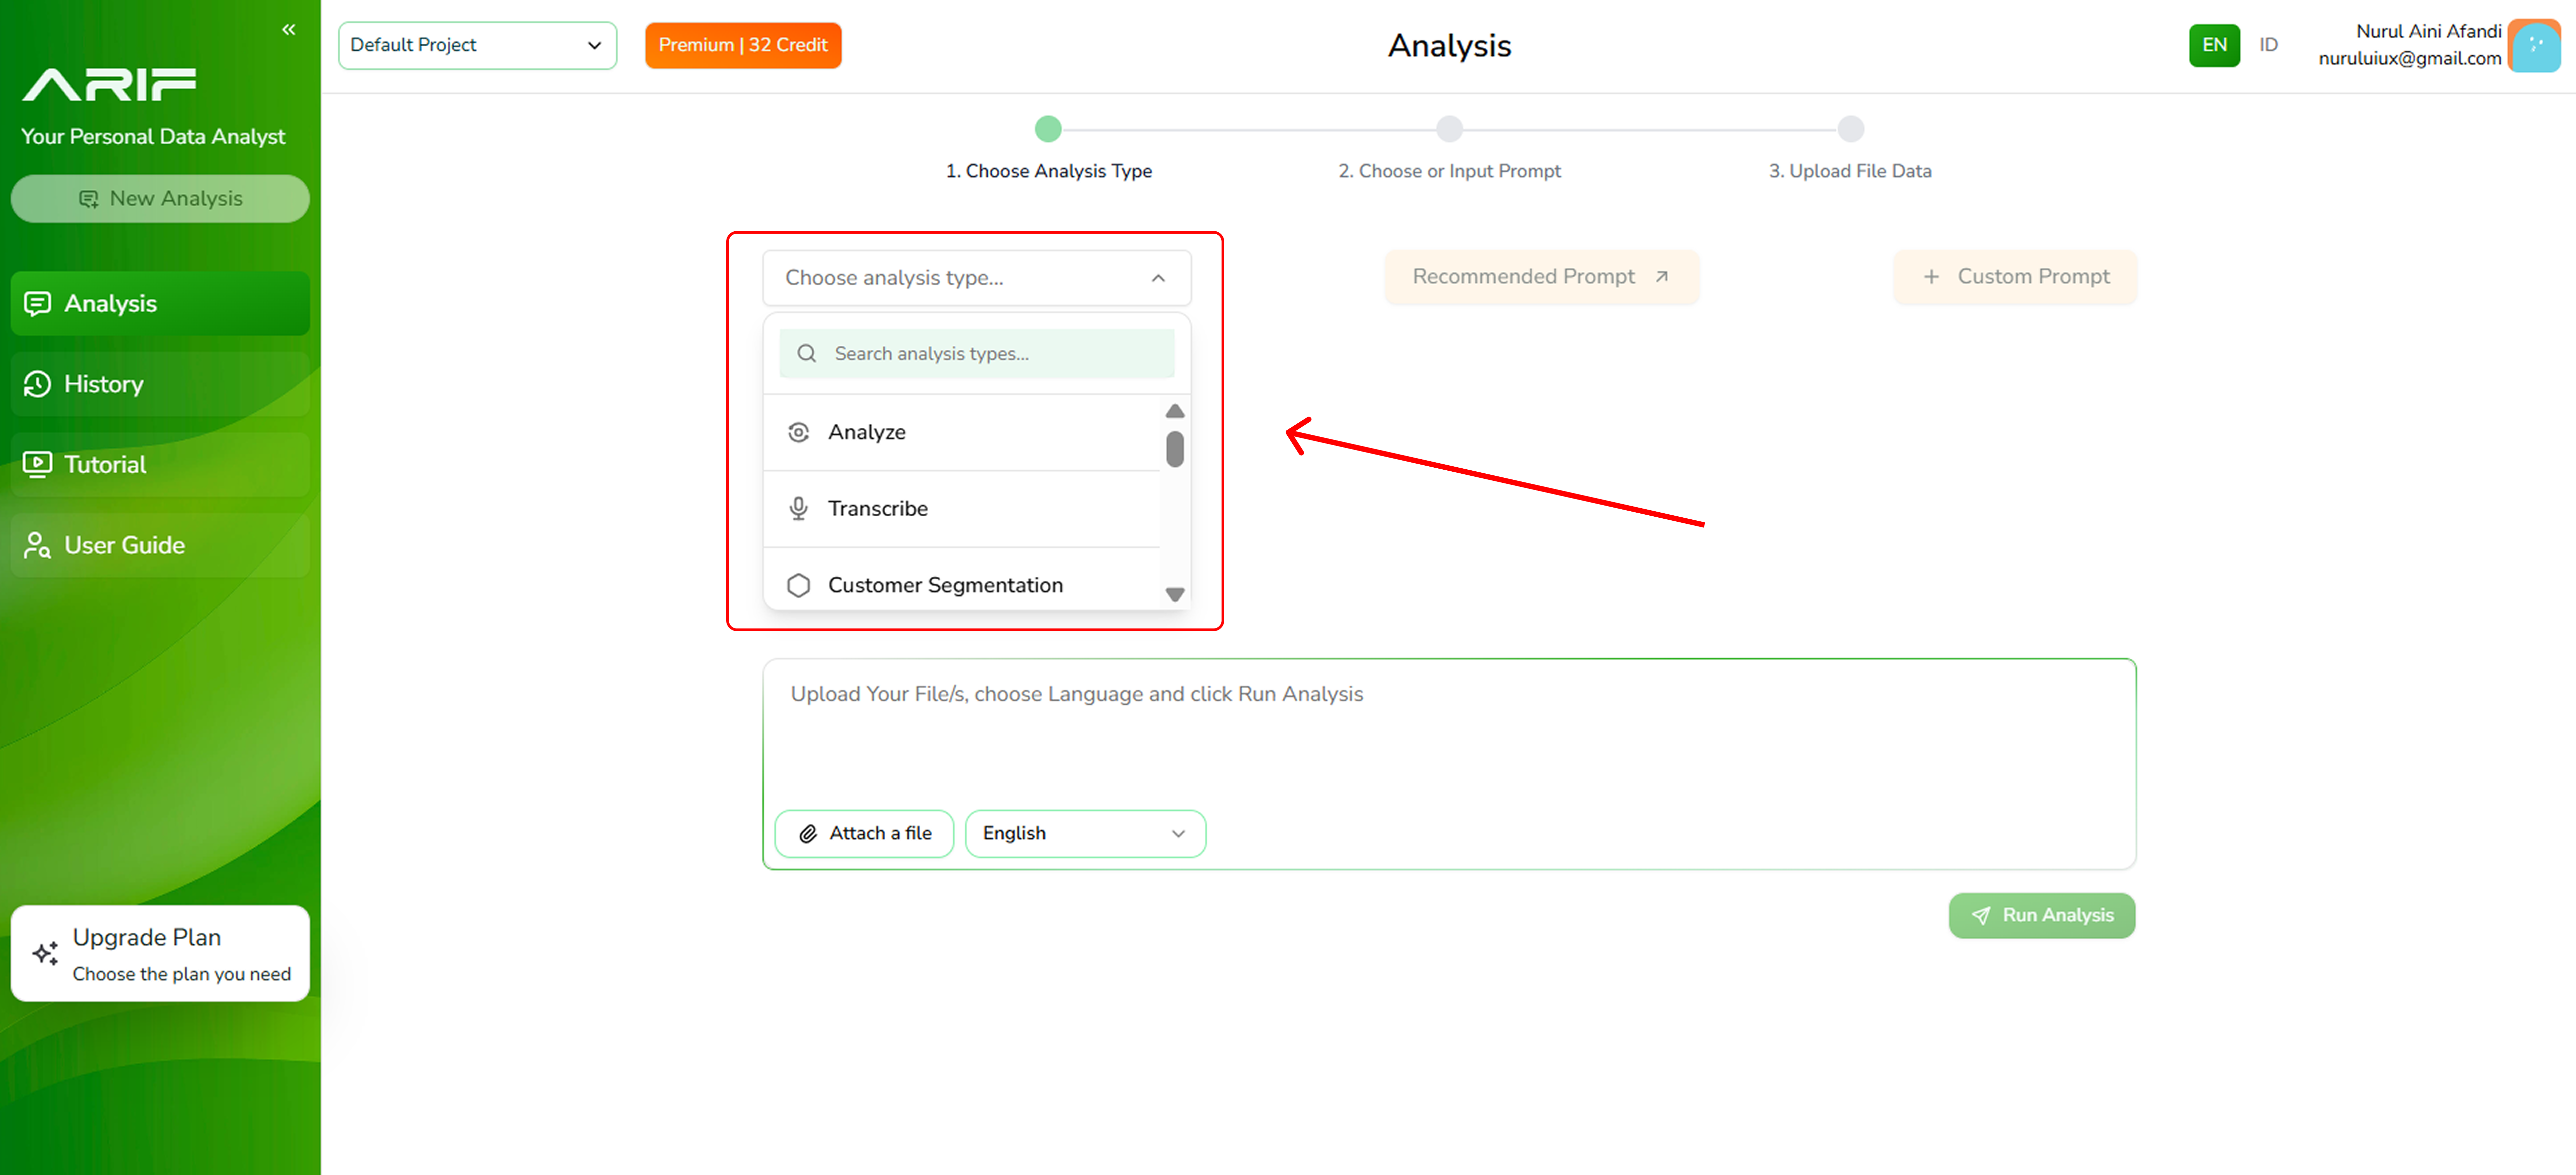
- Click “Choose analysis type” dropdown in the main menu then select “Transcribe”.
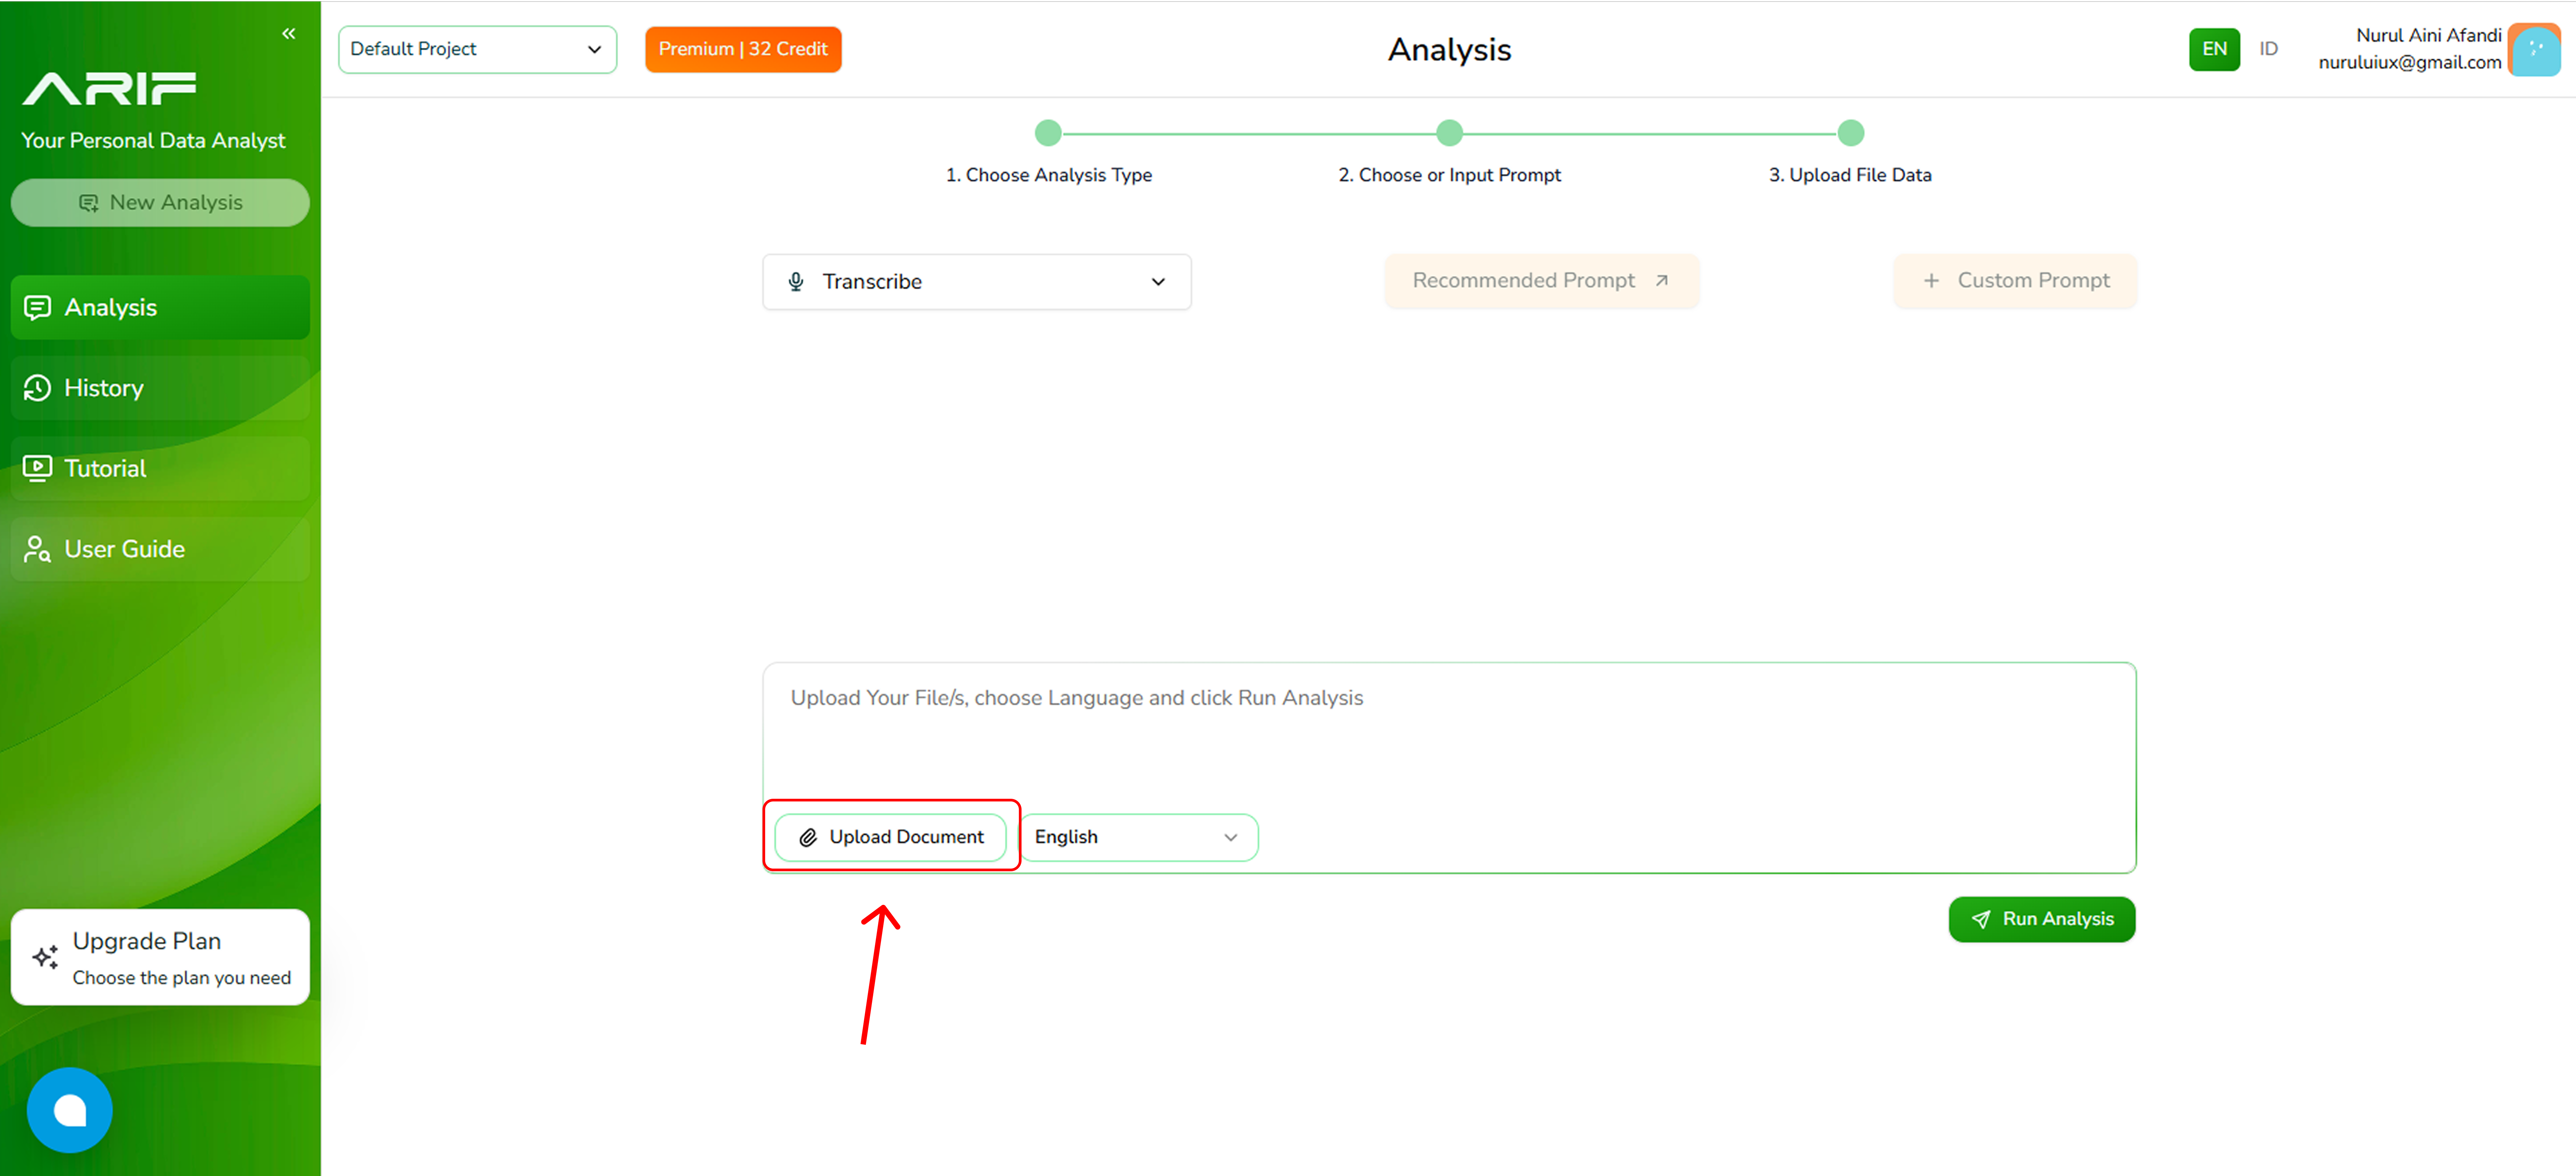
- Click the “Upload Document” button to your file in one of supported formats include .mp3, .mp4, or .wav, with a maximum file size of 2 MB each.
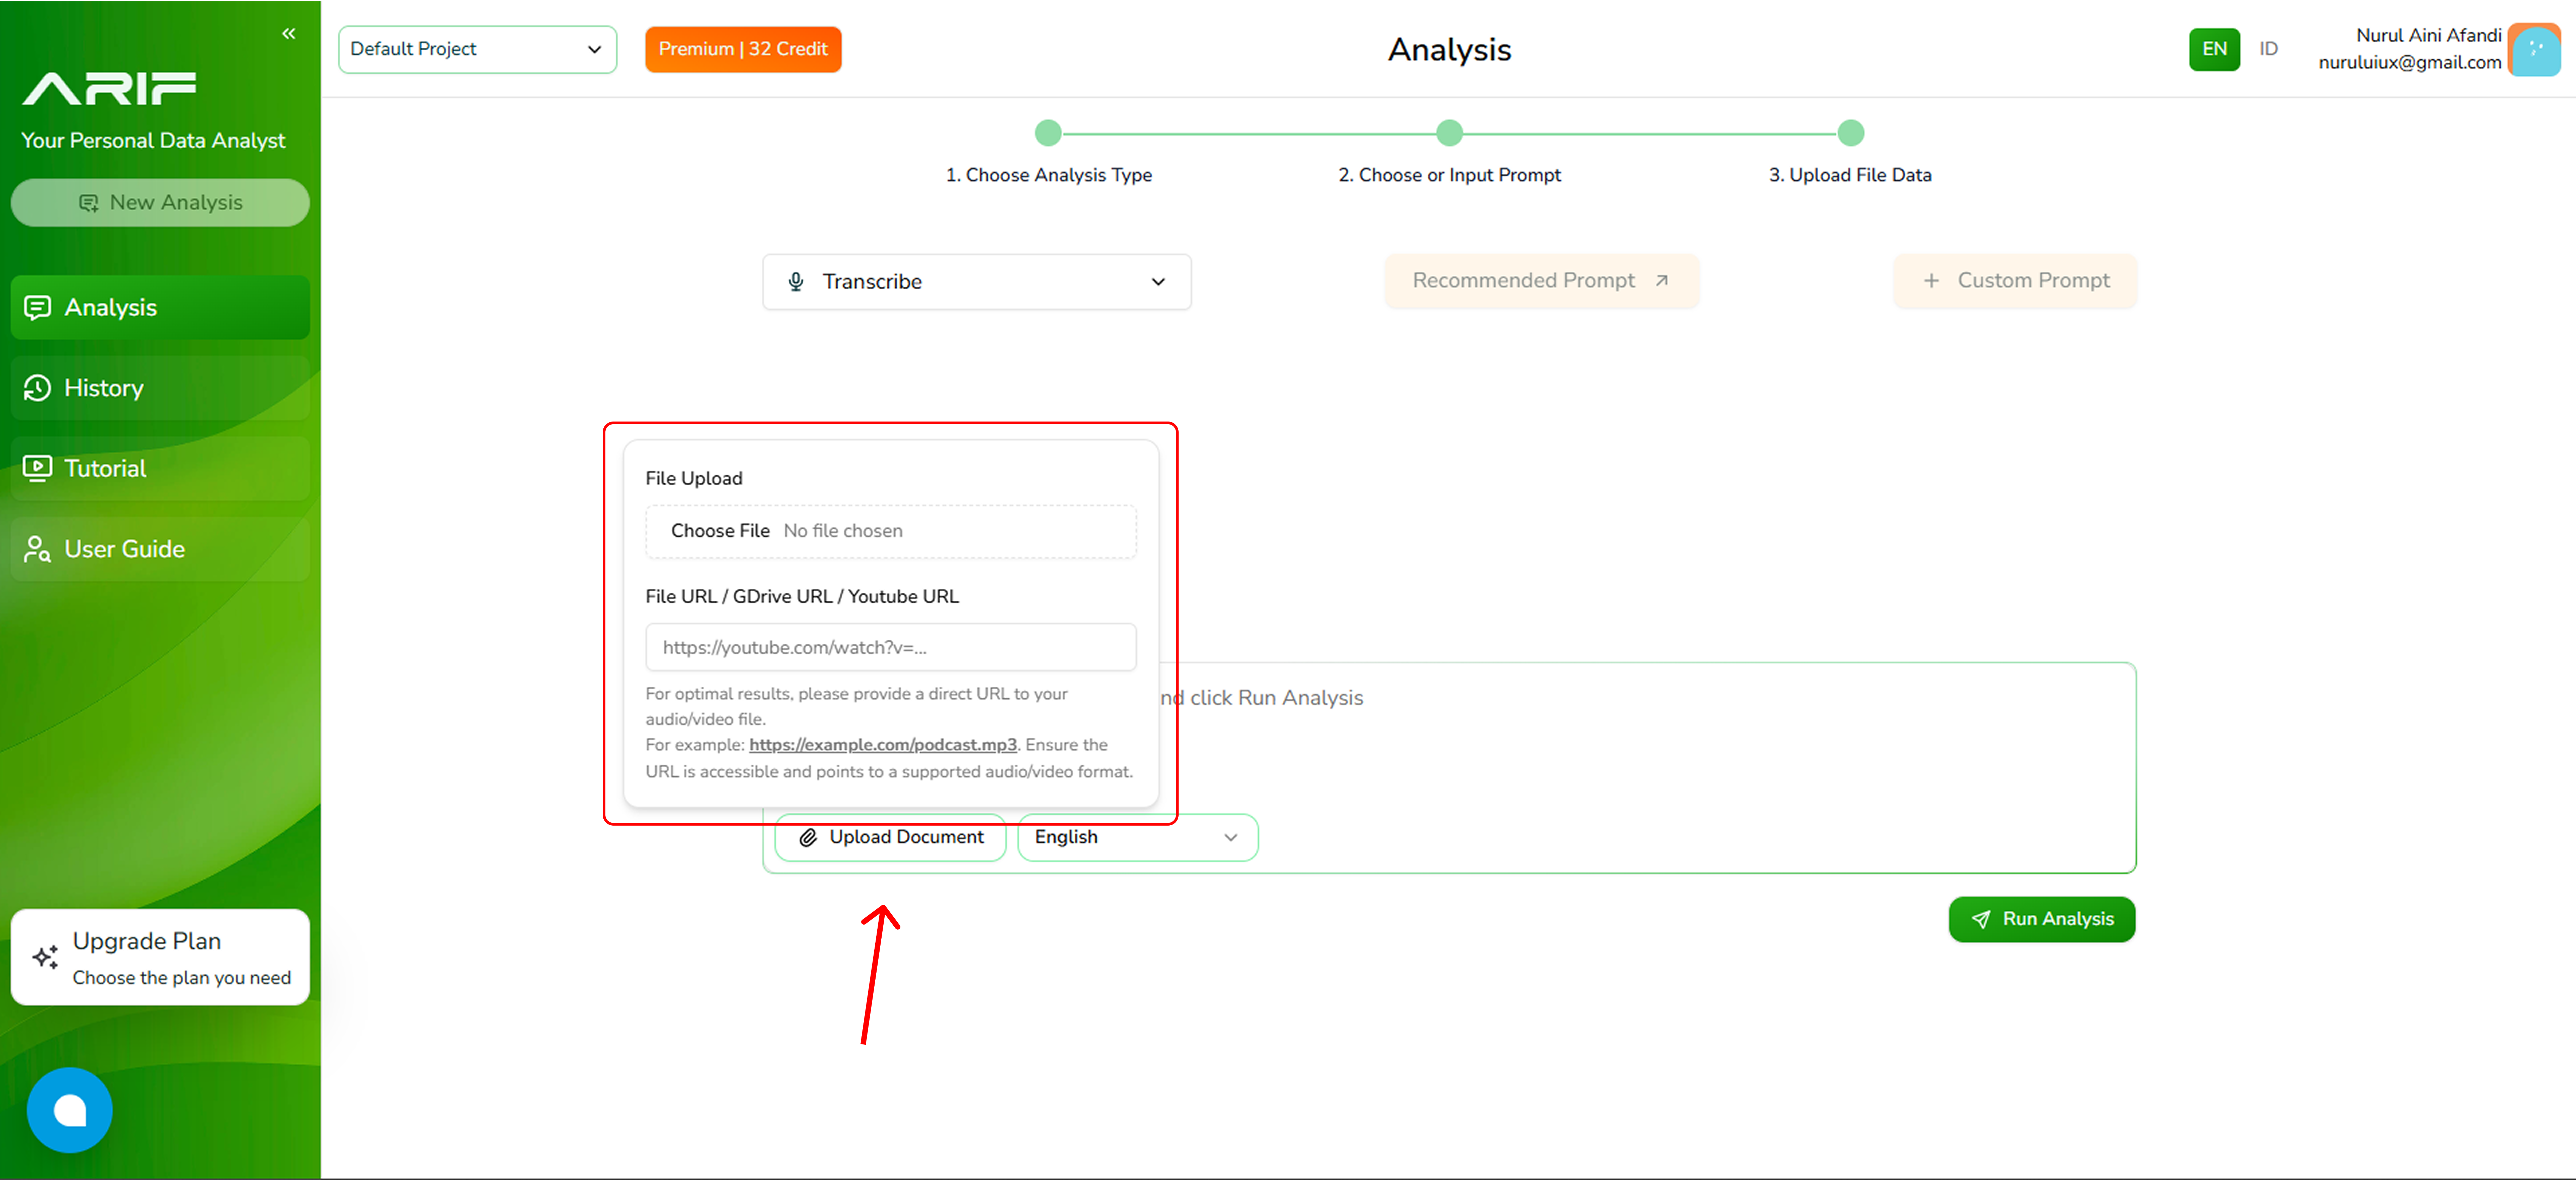
- You can also upload an audio or video file by adding a URL from your Google Drive or YouTube.
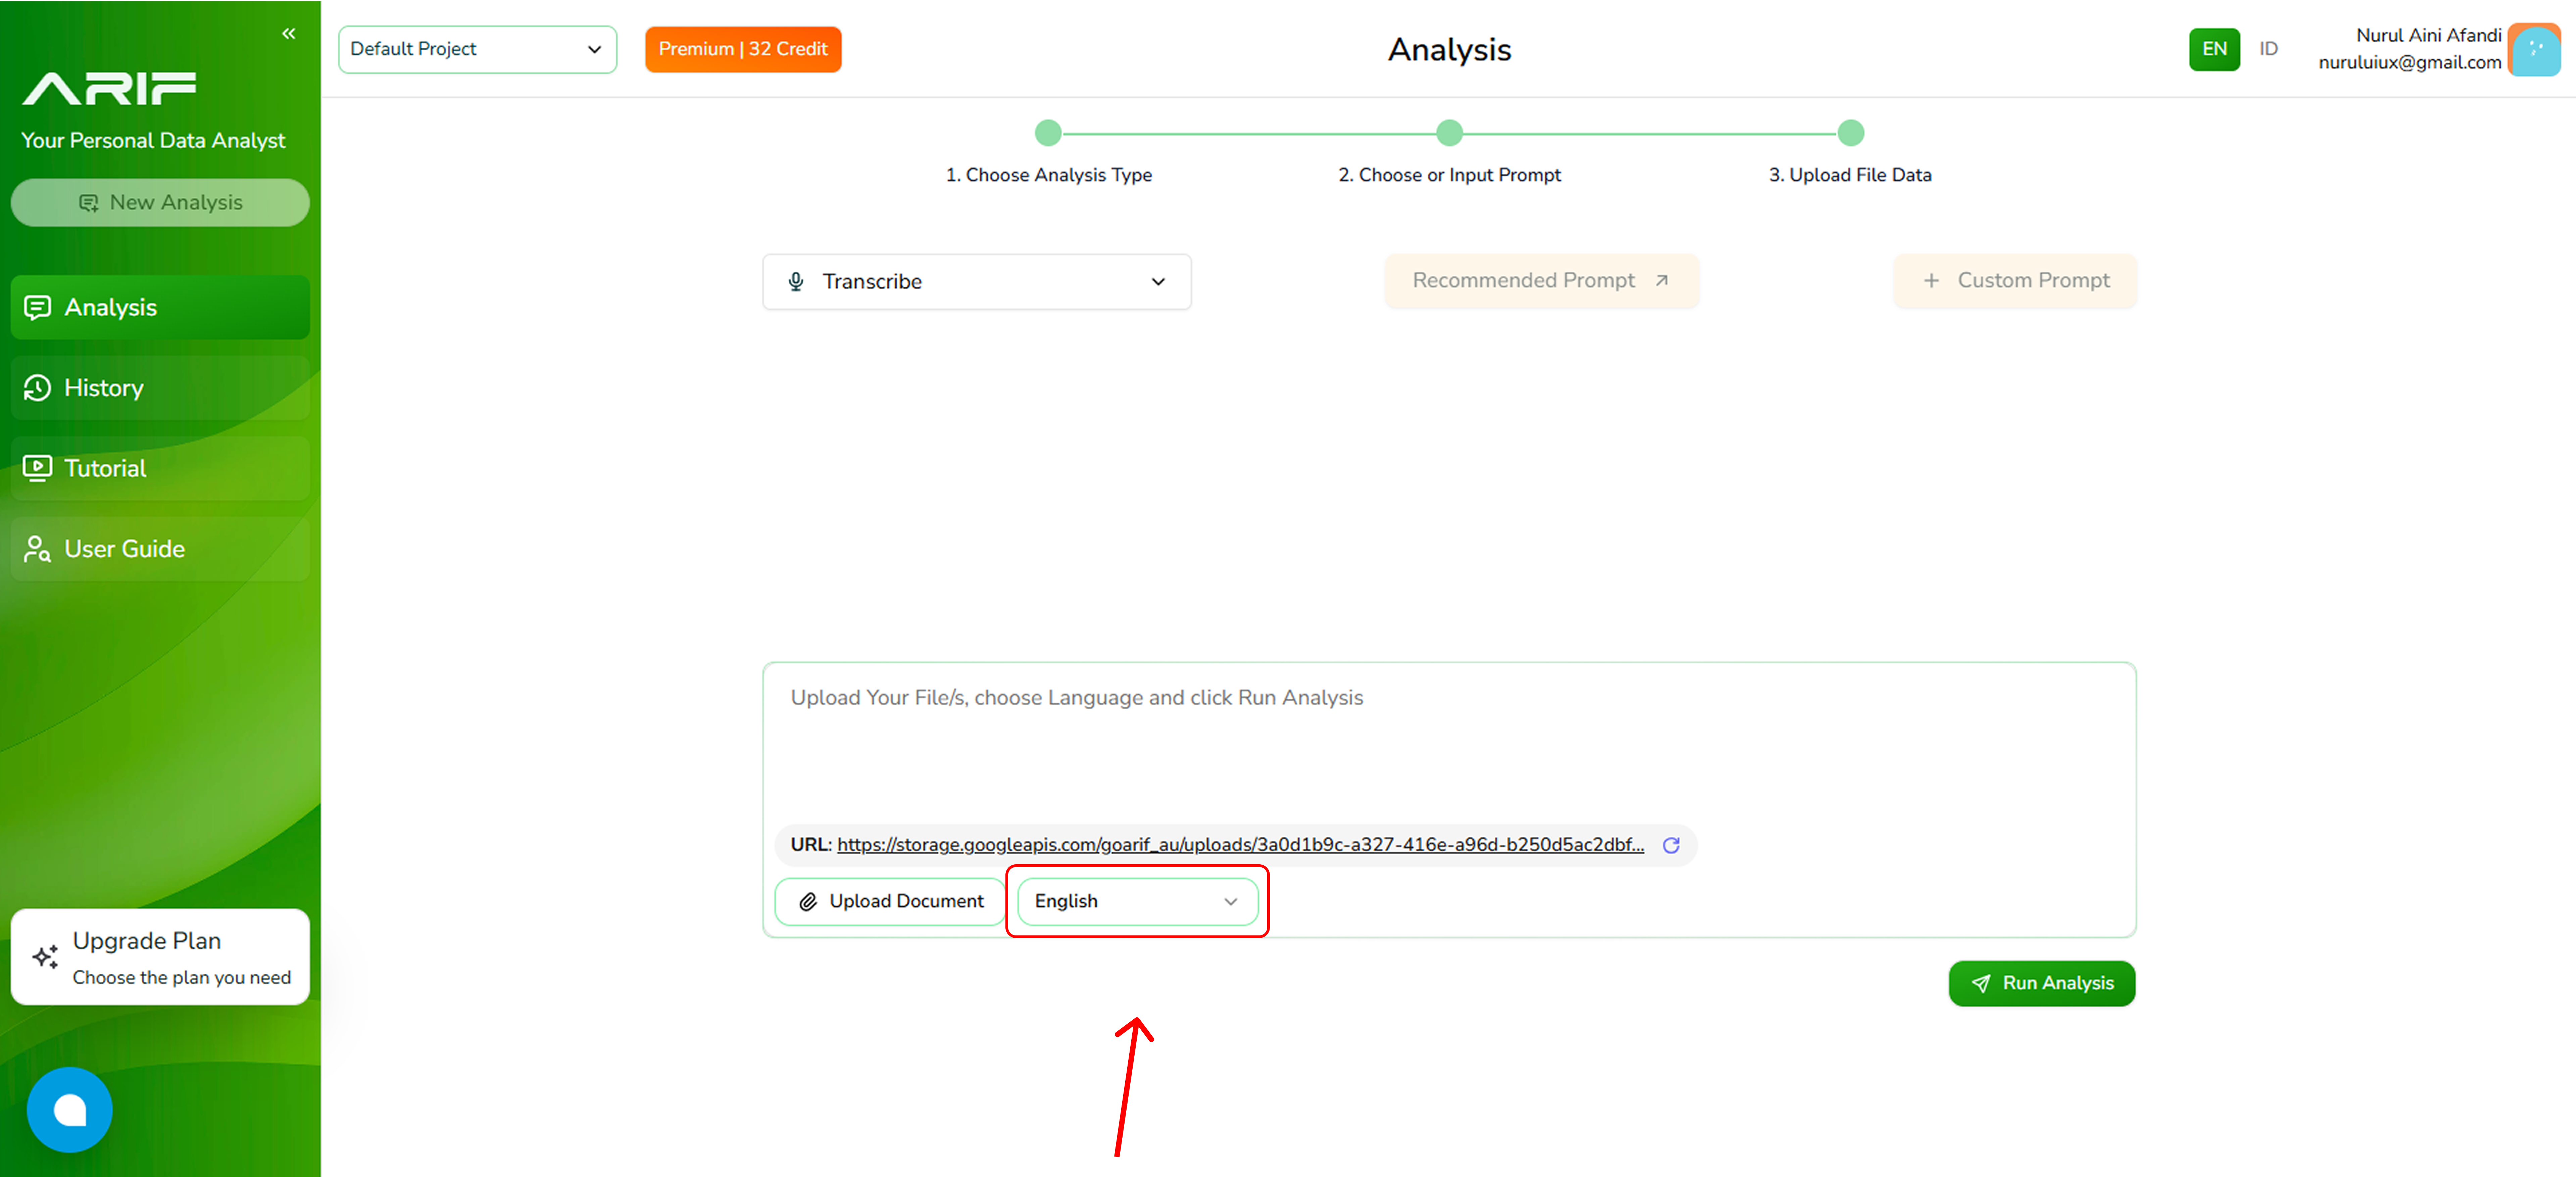
- Choose the language of your audio/video file (English or Bahasa Indonesia).
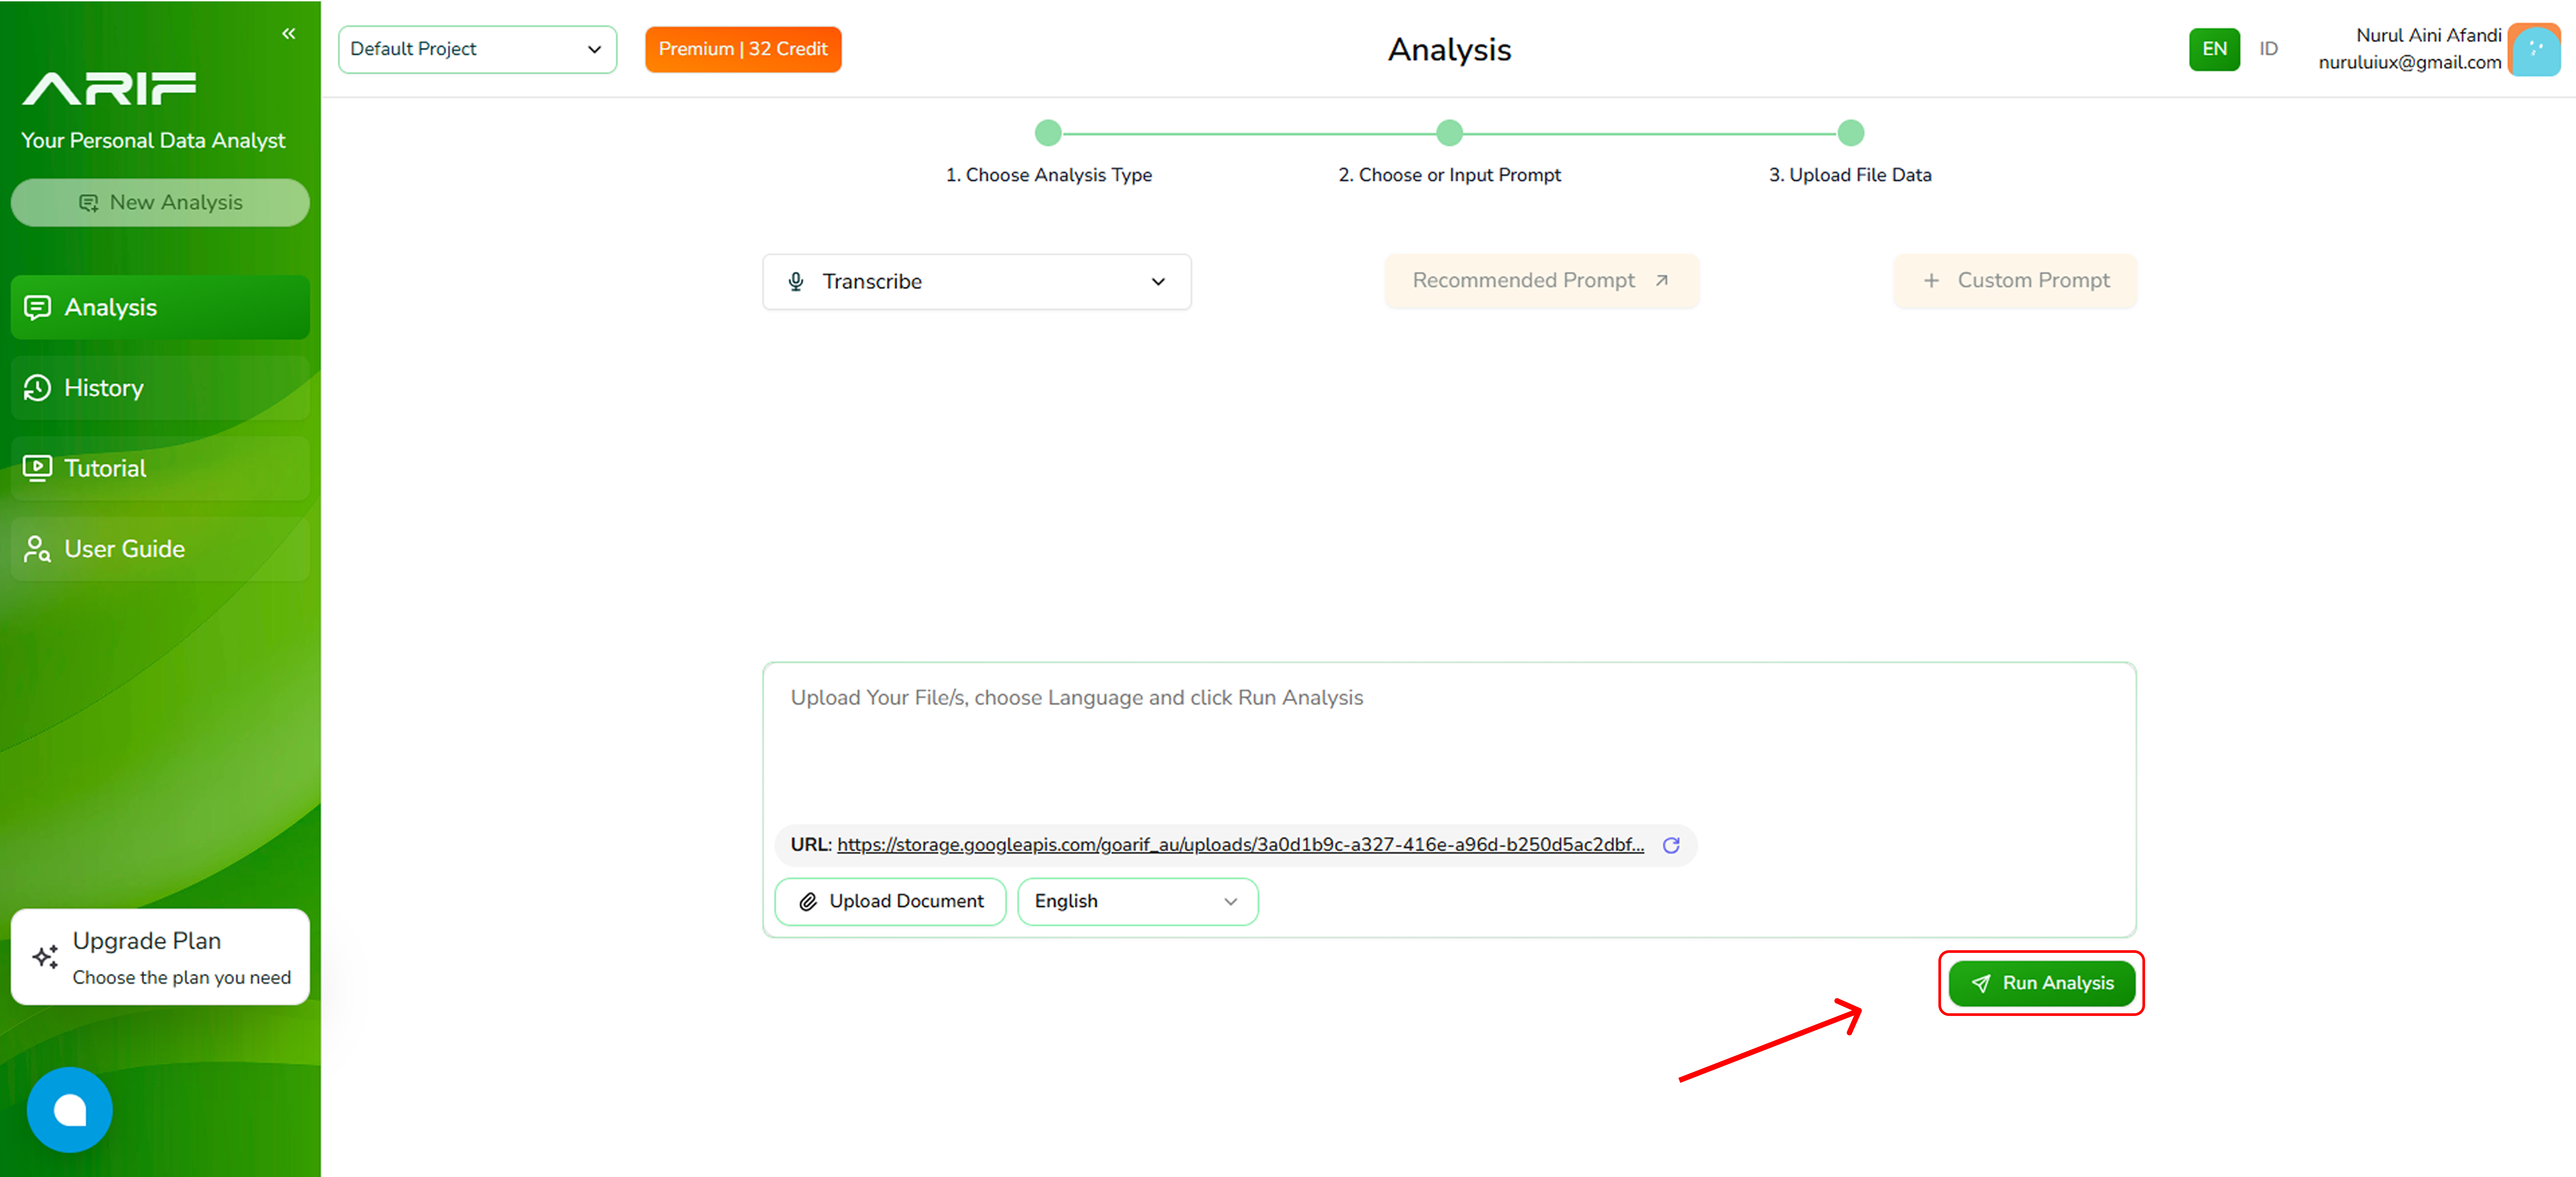
- Once uploaded, then click “Run Analysis” button and wait for the transcription to complete. The processing time depends on the file size.
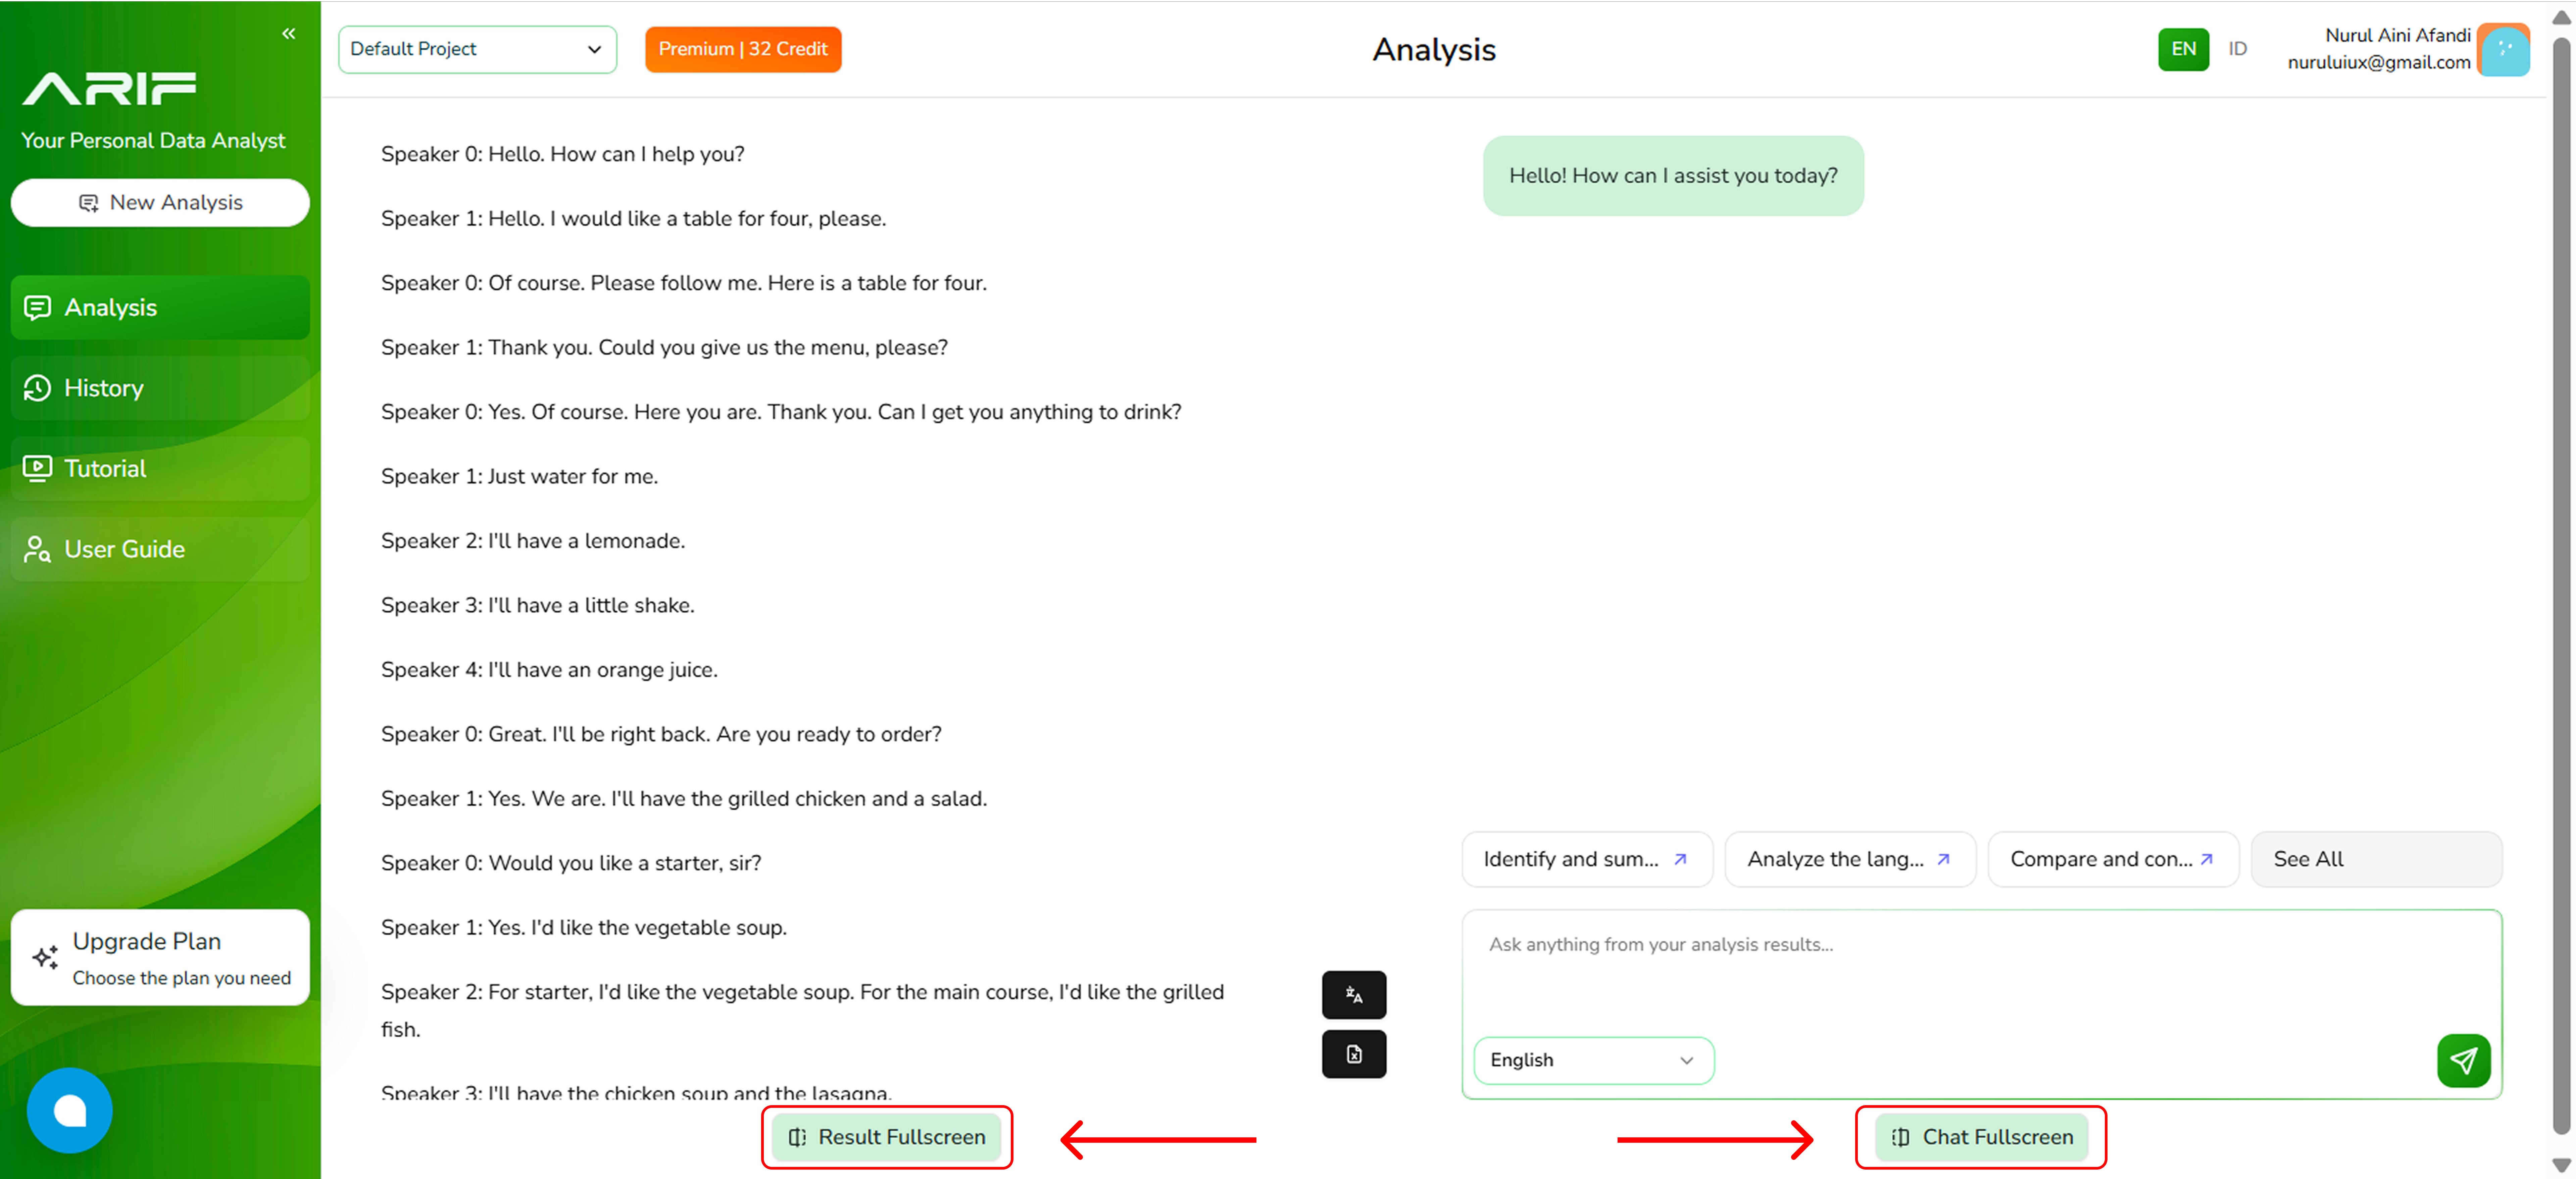
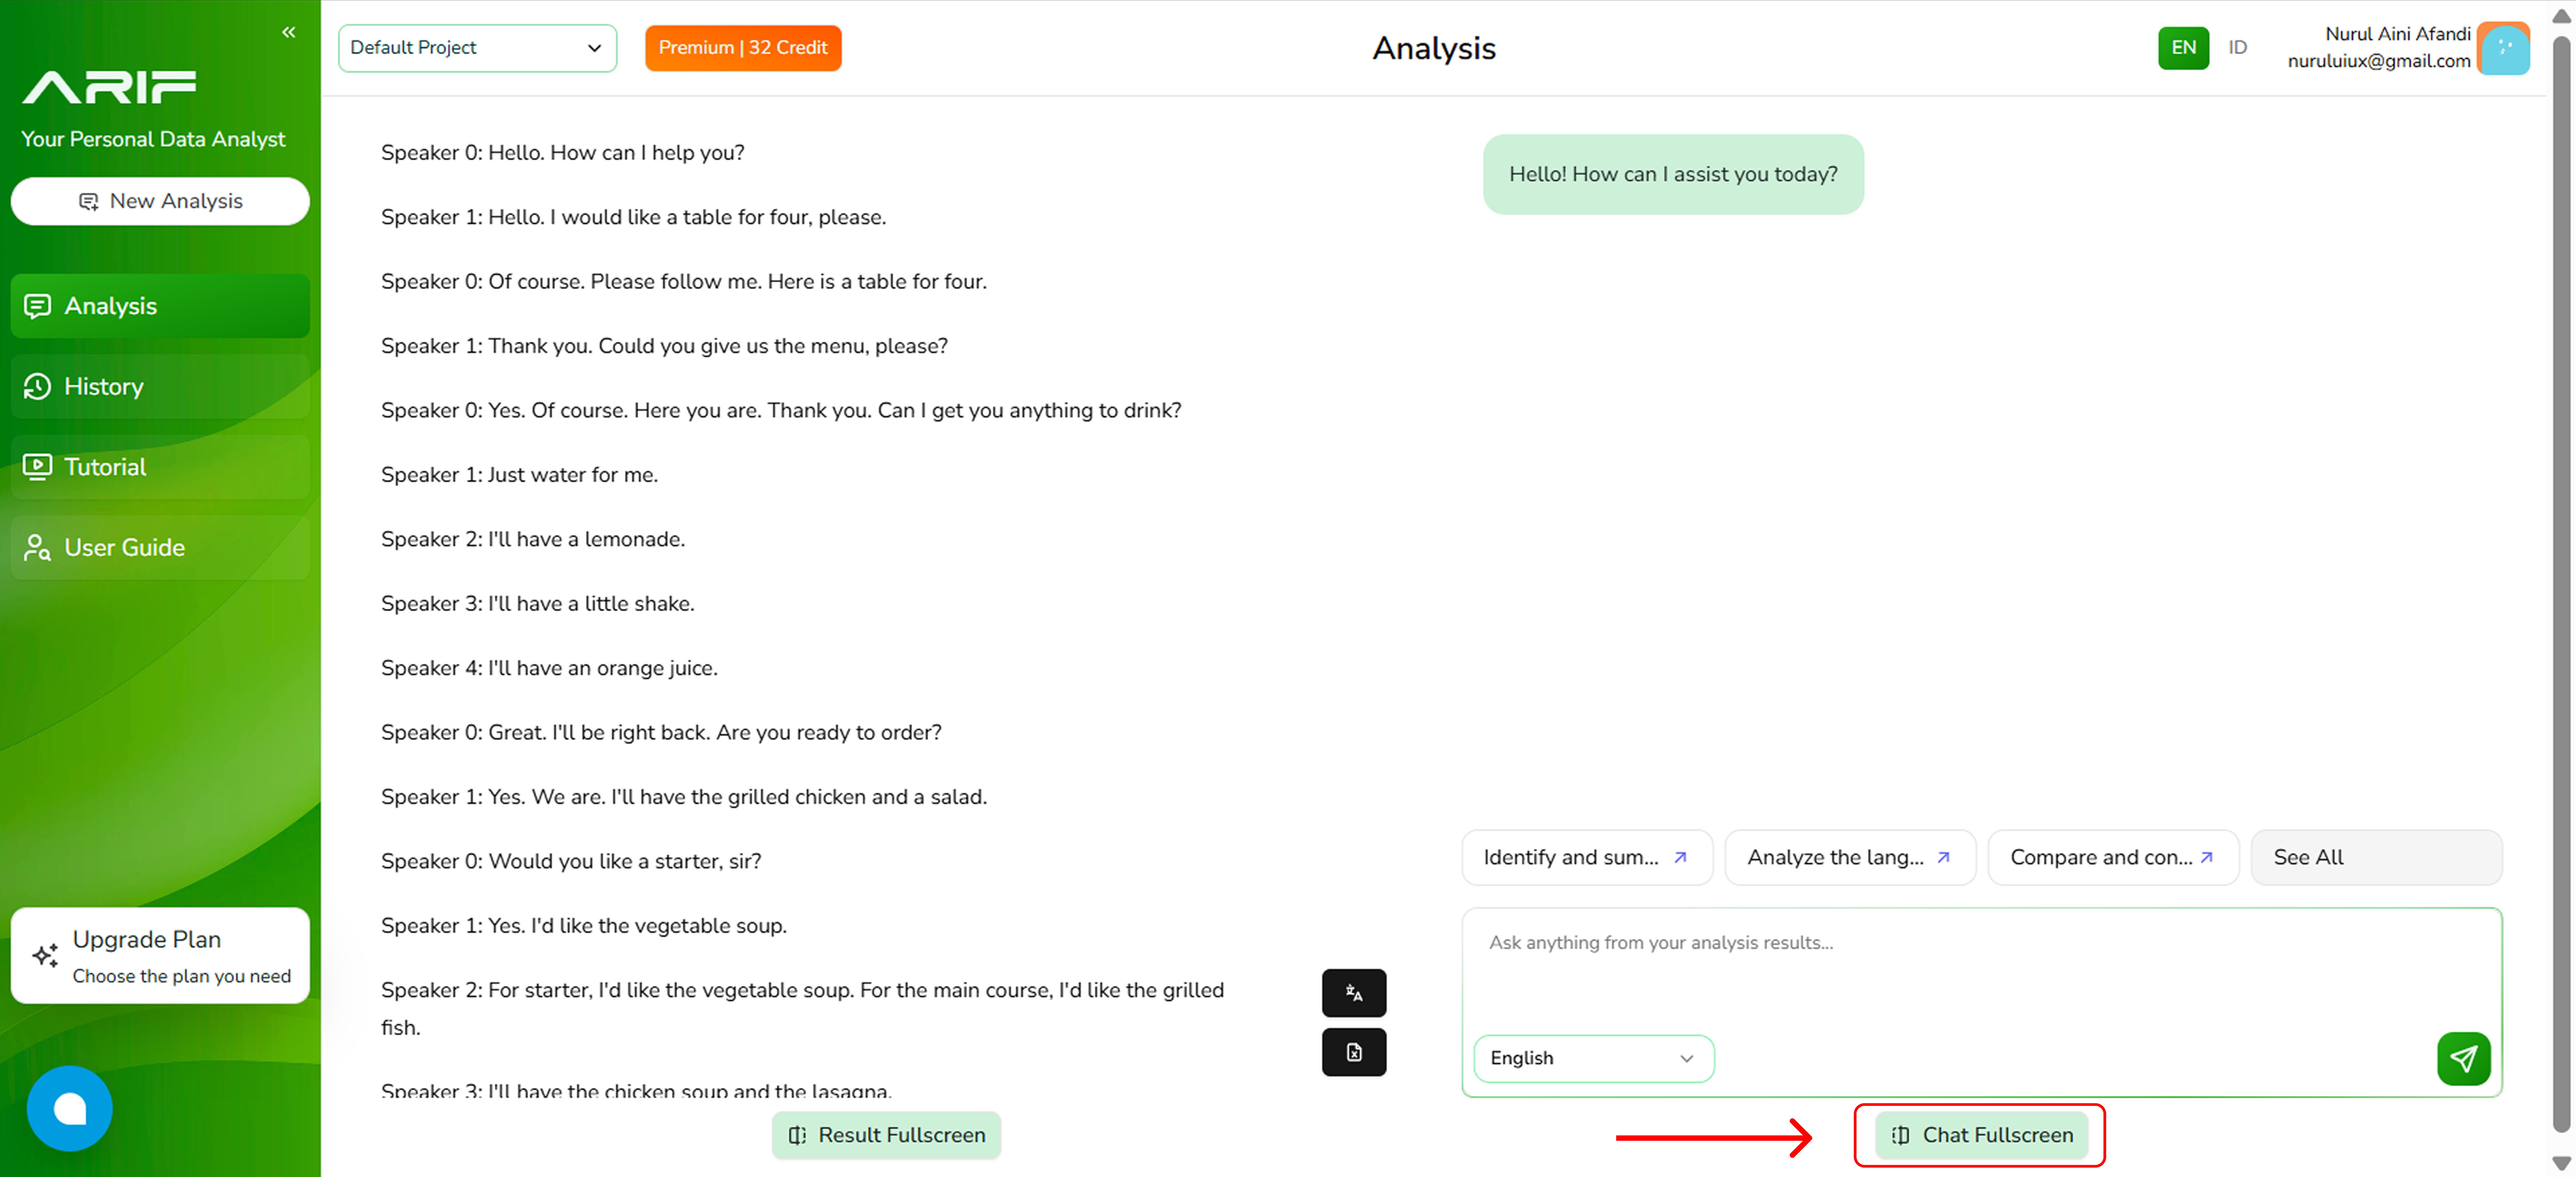
- The transcript will appear on the left panel, while the right panel allows you to analyze the transcript content. This allows you to explore the content further and get the answer you need.
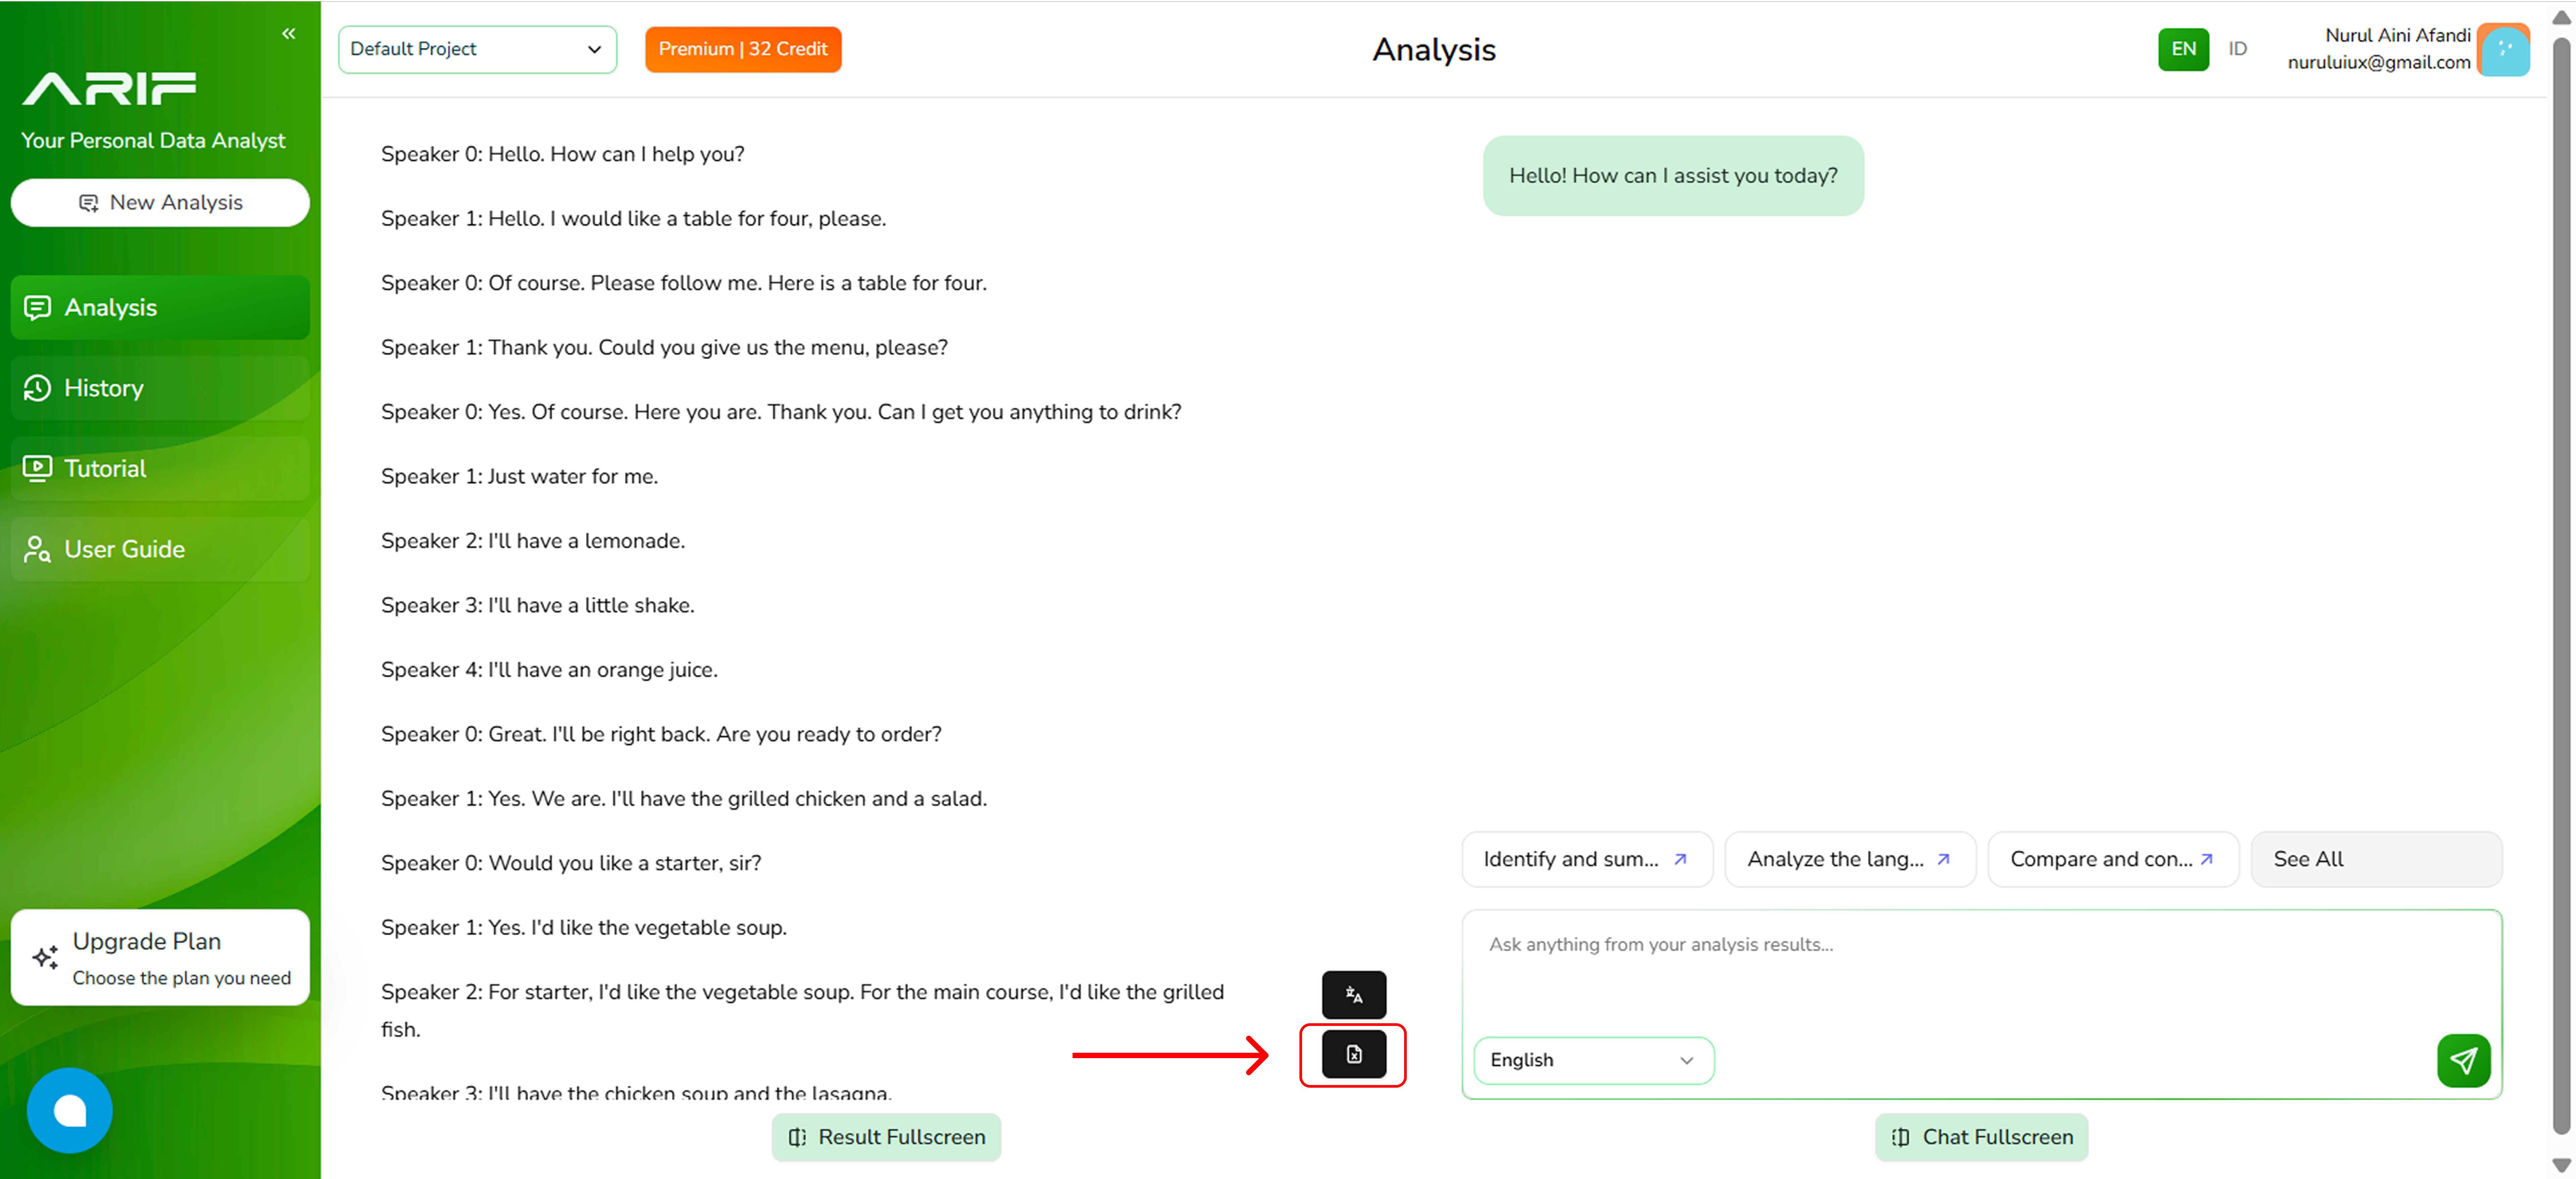
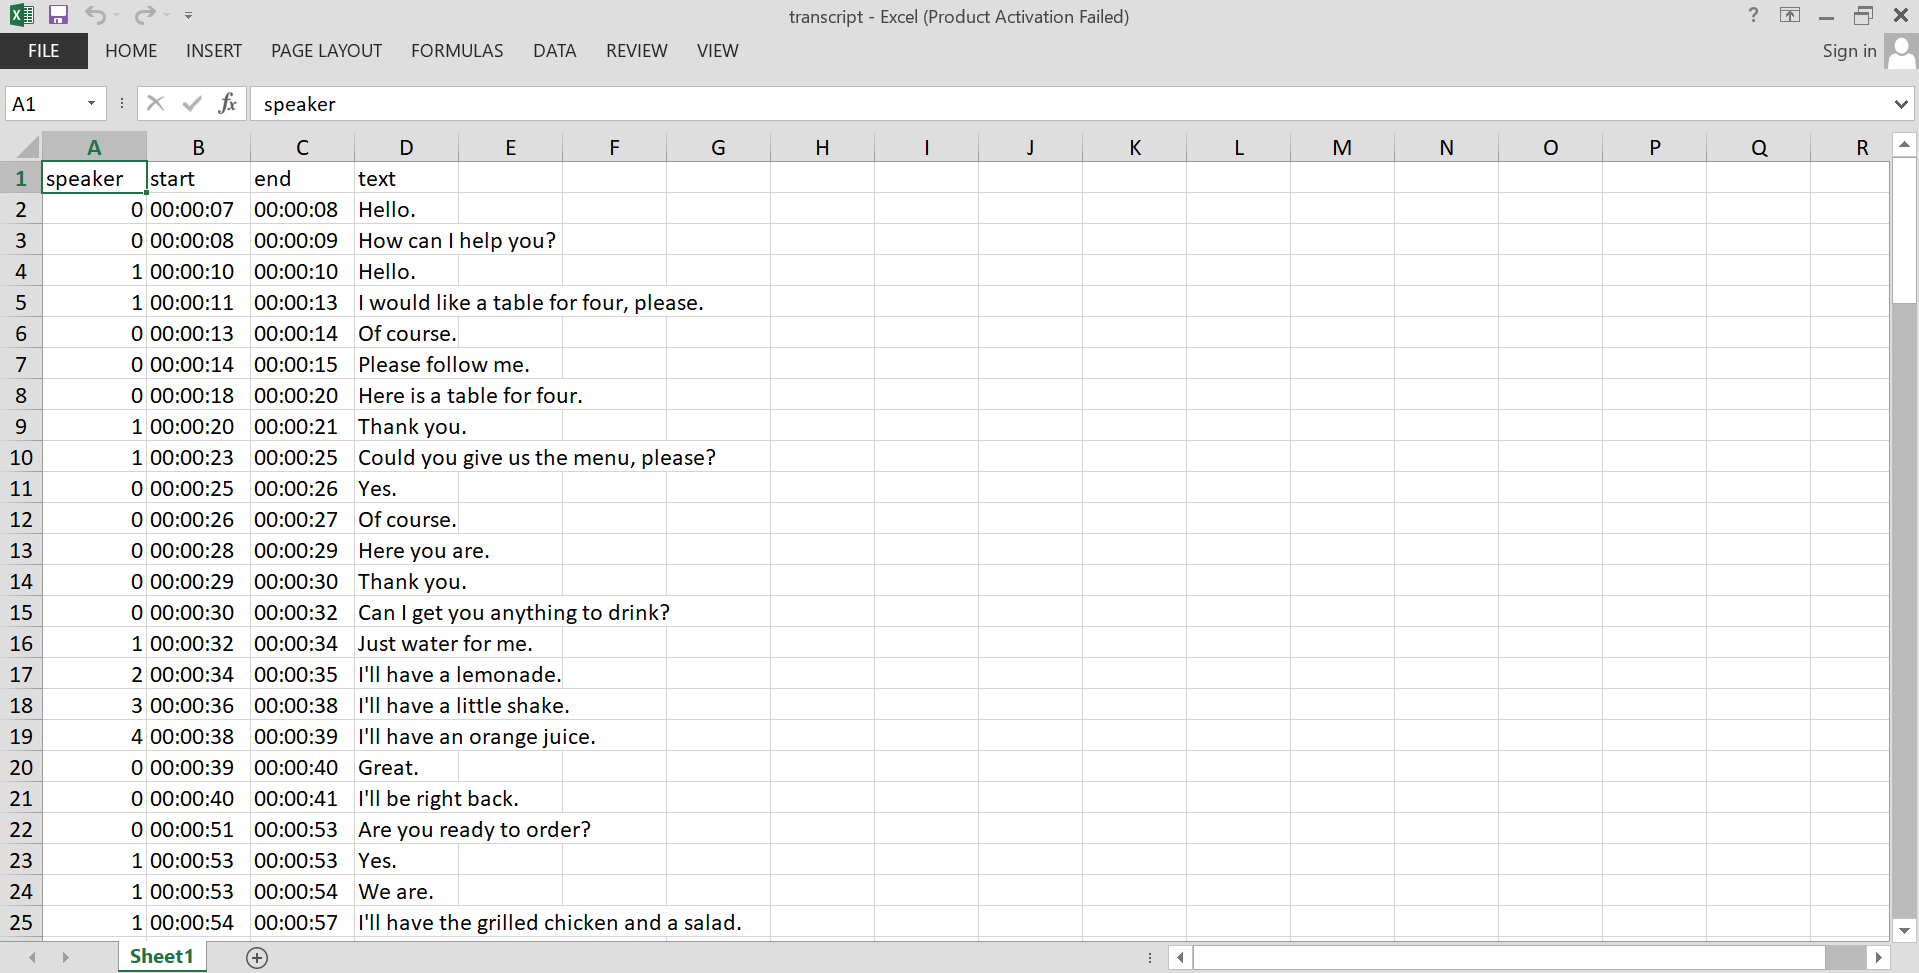
- You can download your transcript by clicking on the small black buttons either in PDF or xlsx format.
- Here is an example of downloaded transcript in xlsx format.
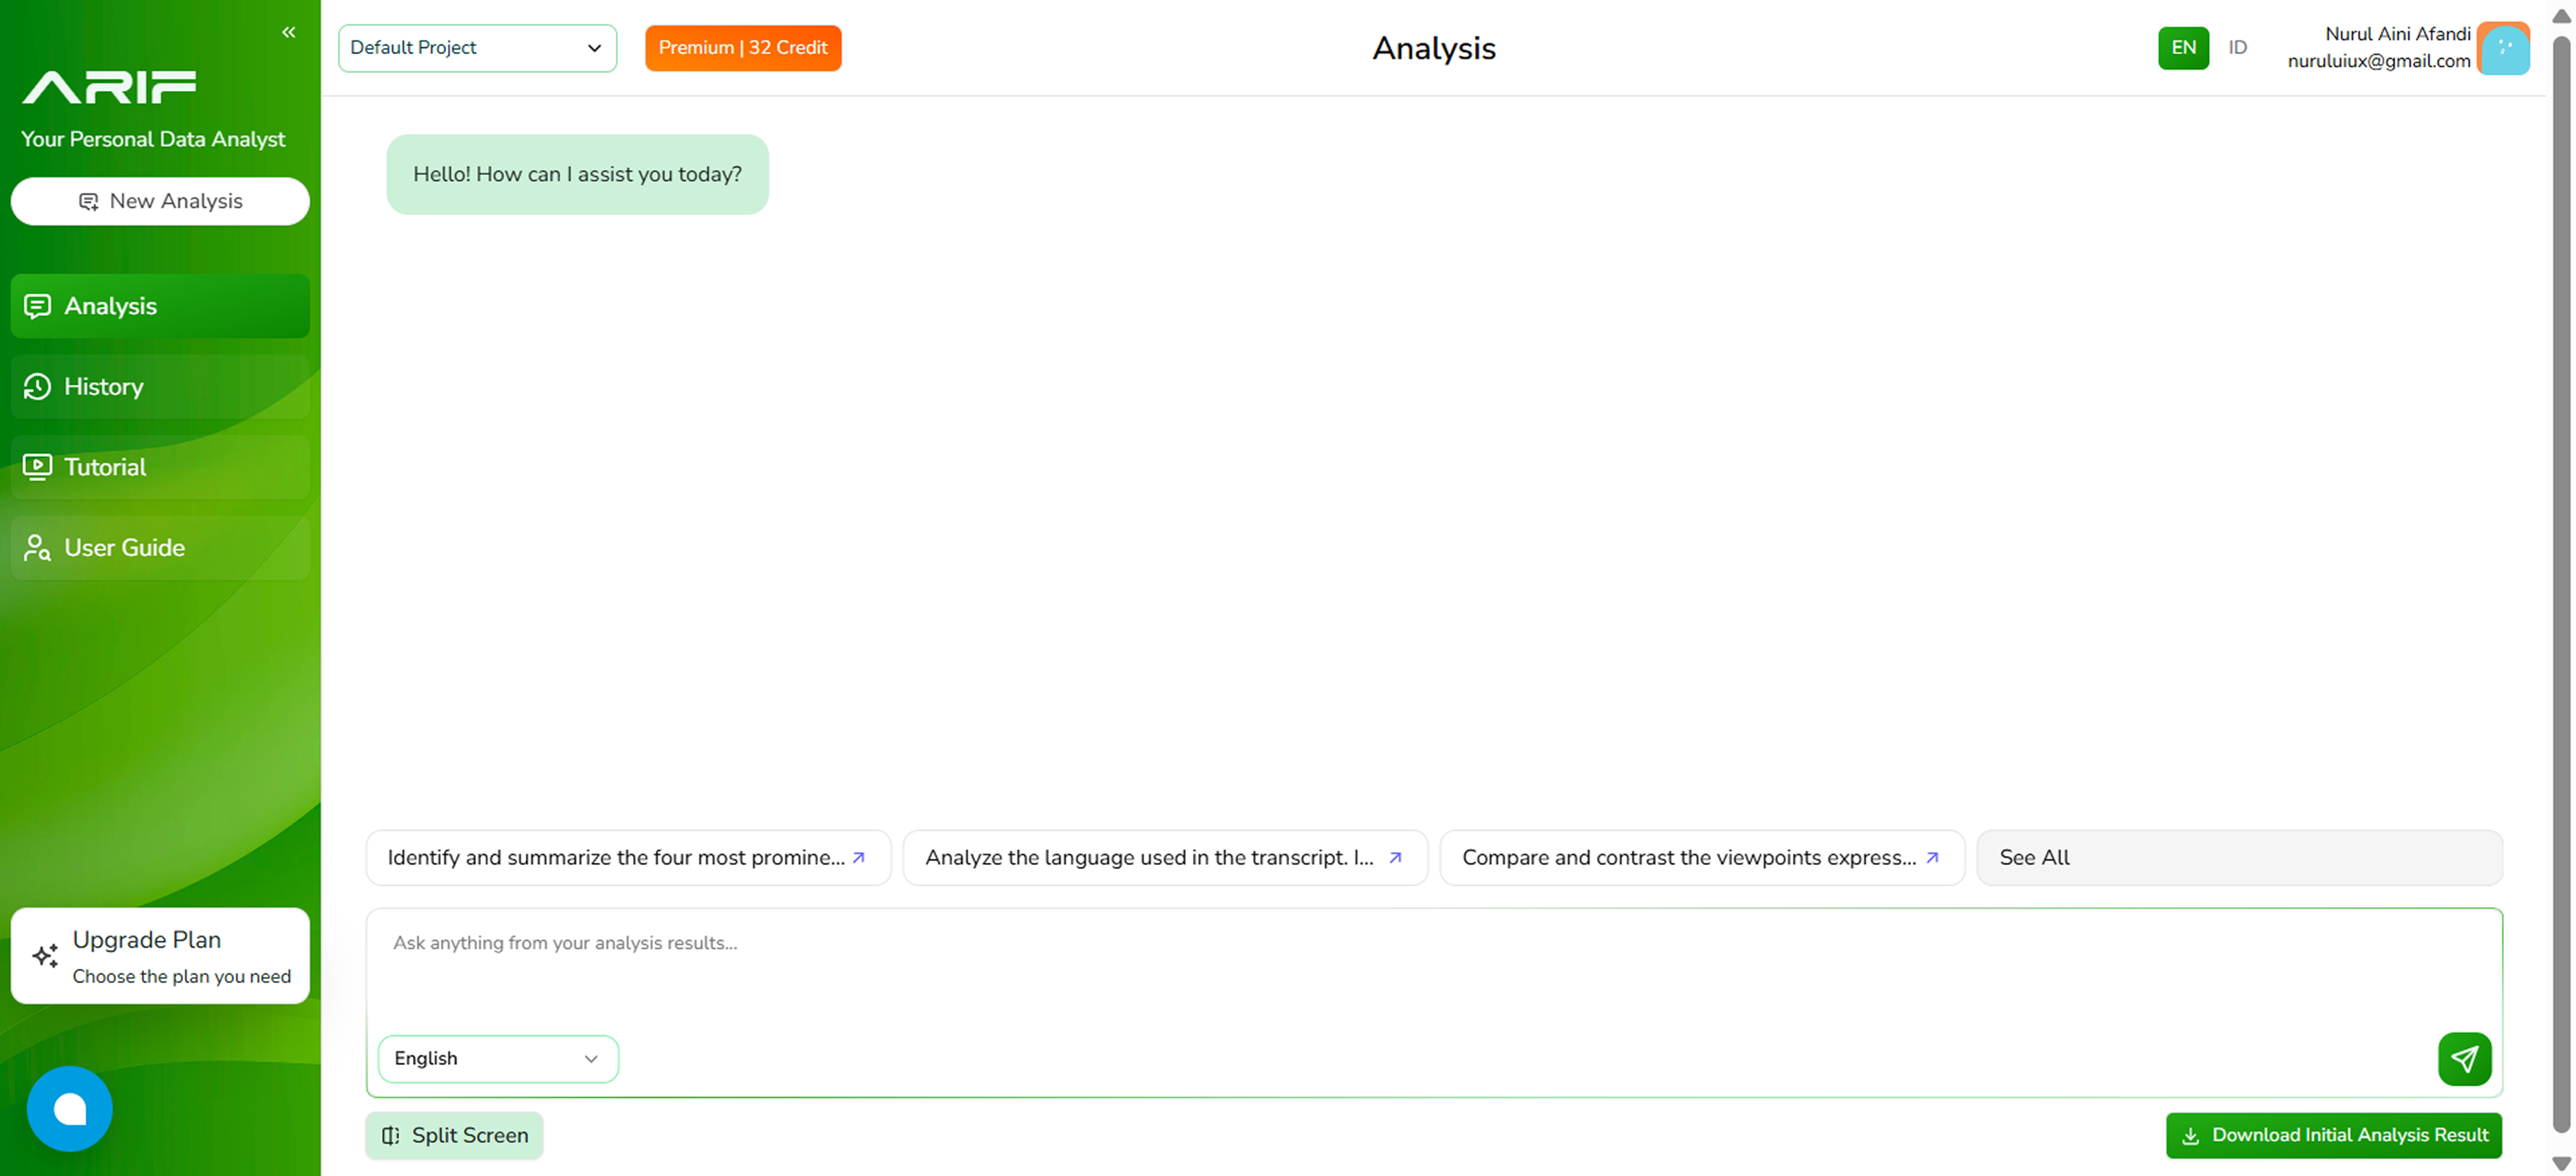
- You can click on “Chat Fullscreen” at the bottom of the panel to expand the view.
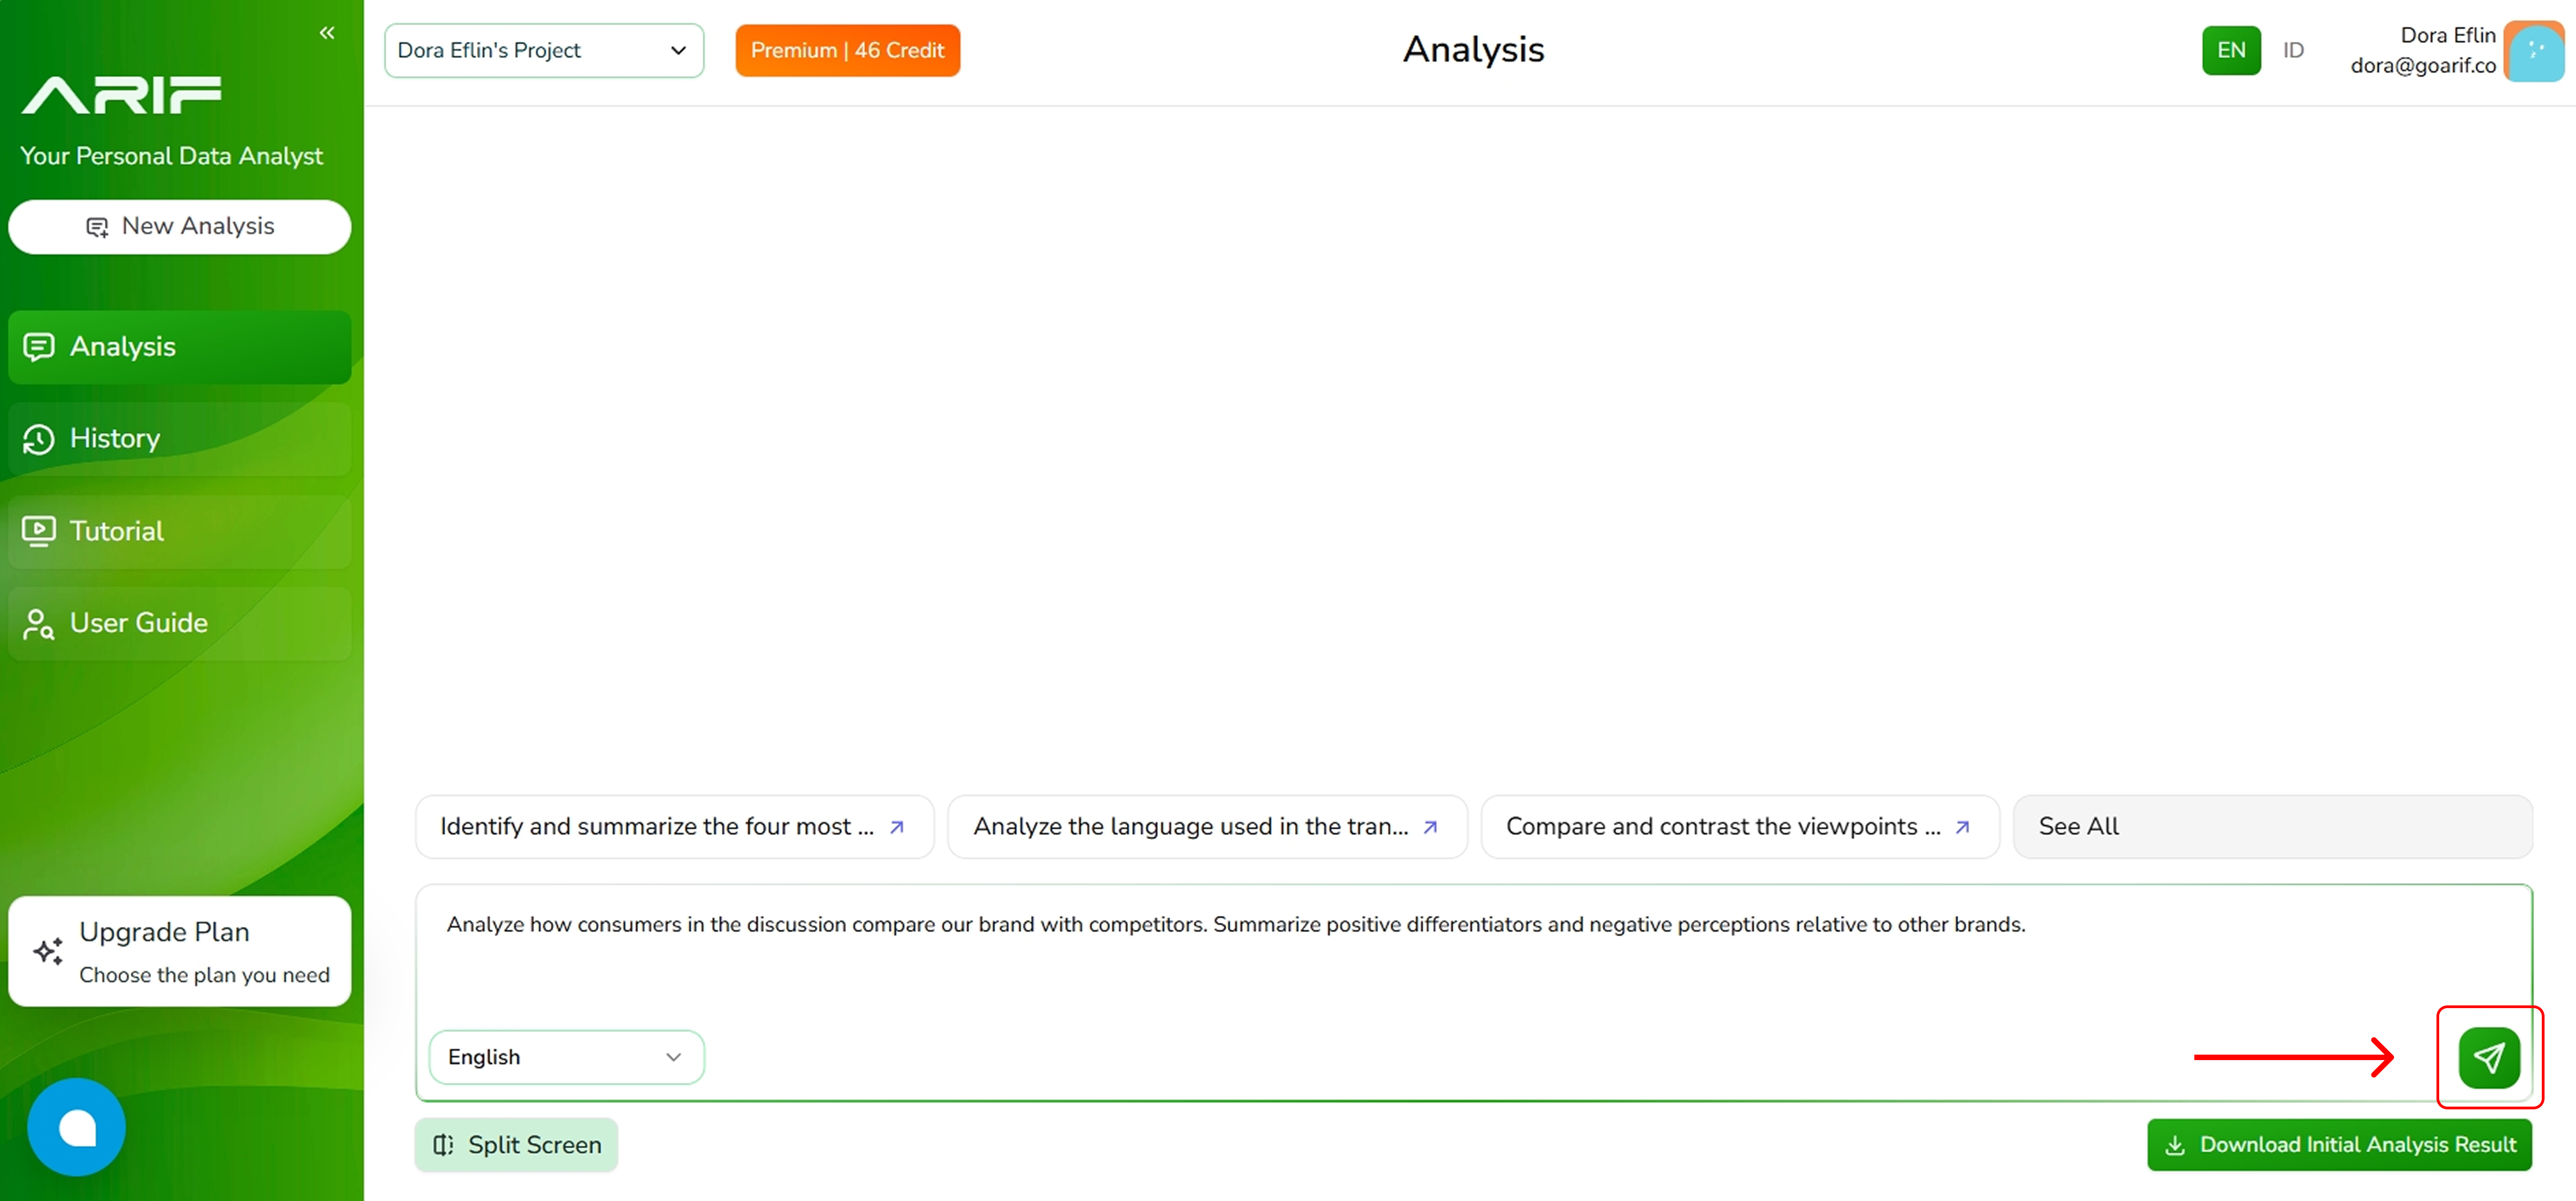
- You can analyze the content of your transcript by choosing one of the available prompts or typing in your own questions in the input field.
- If you choose to use one of the recommended prompts, you can view the list in the “See All” button and select one of them to be the prompt.
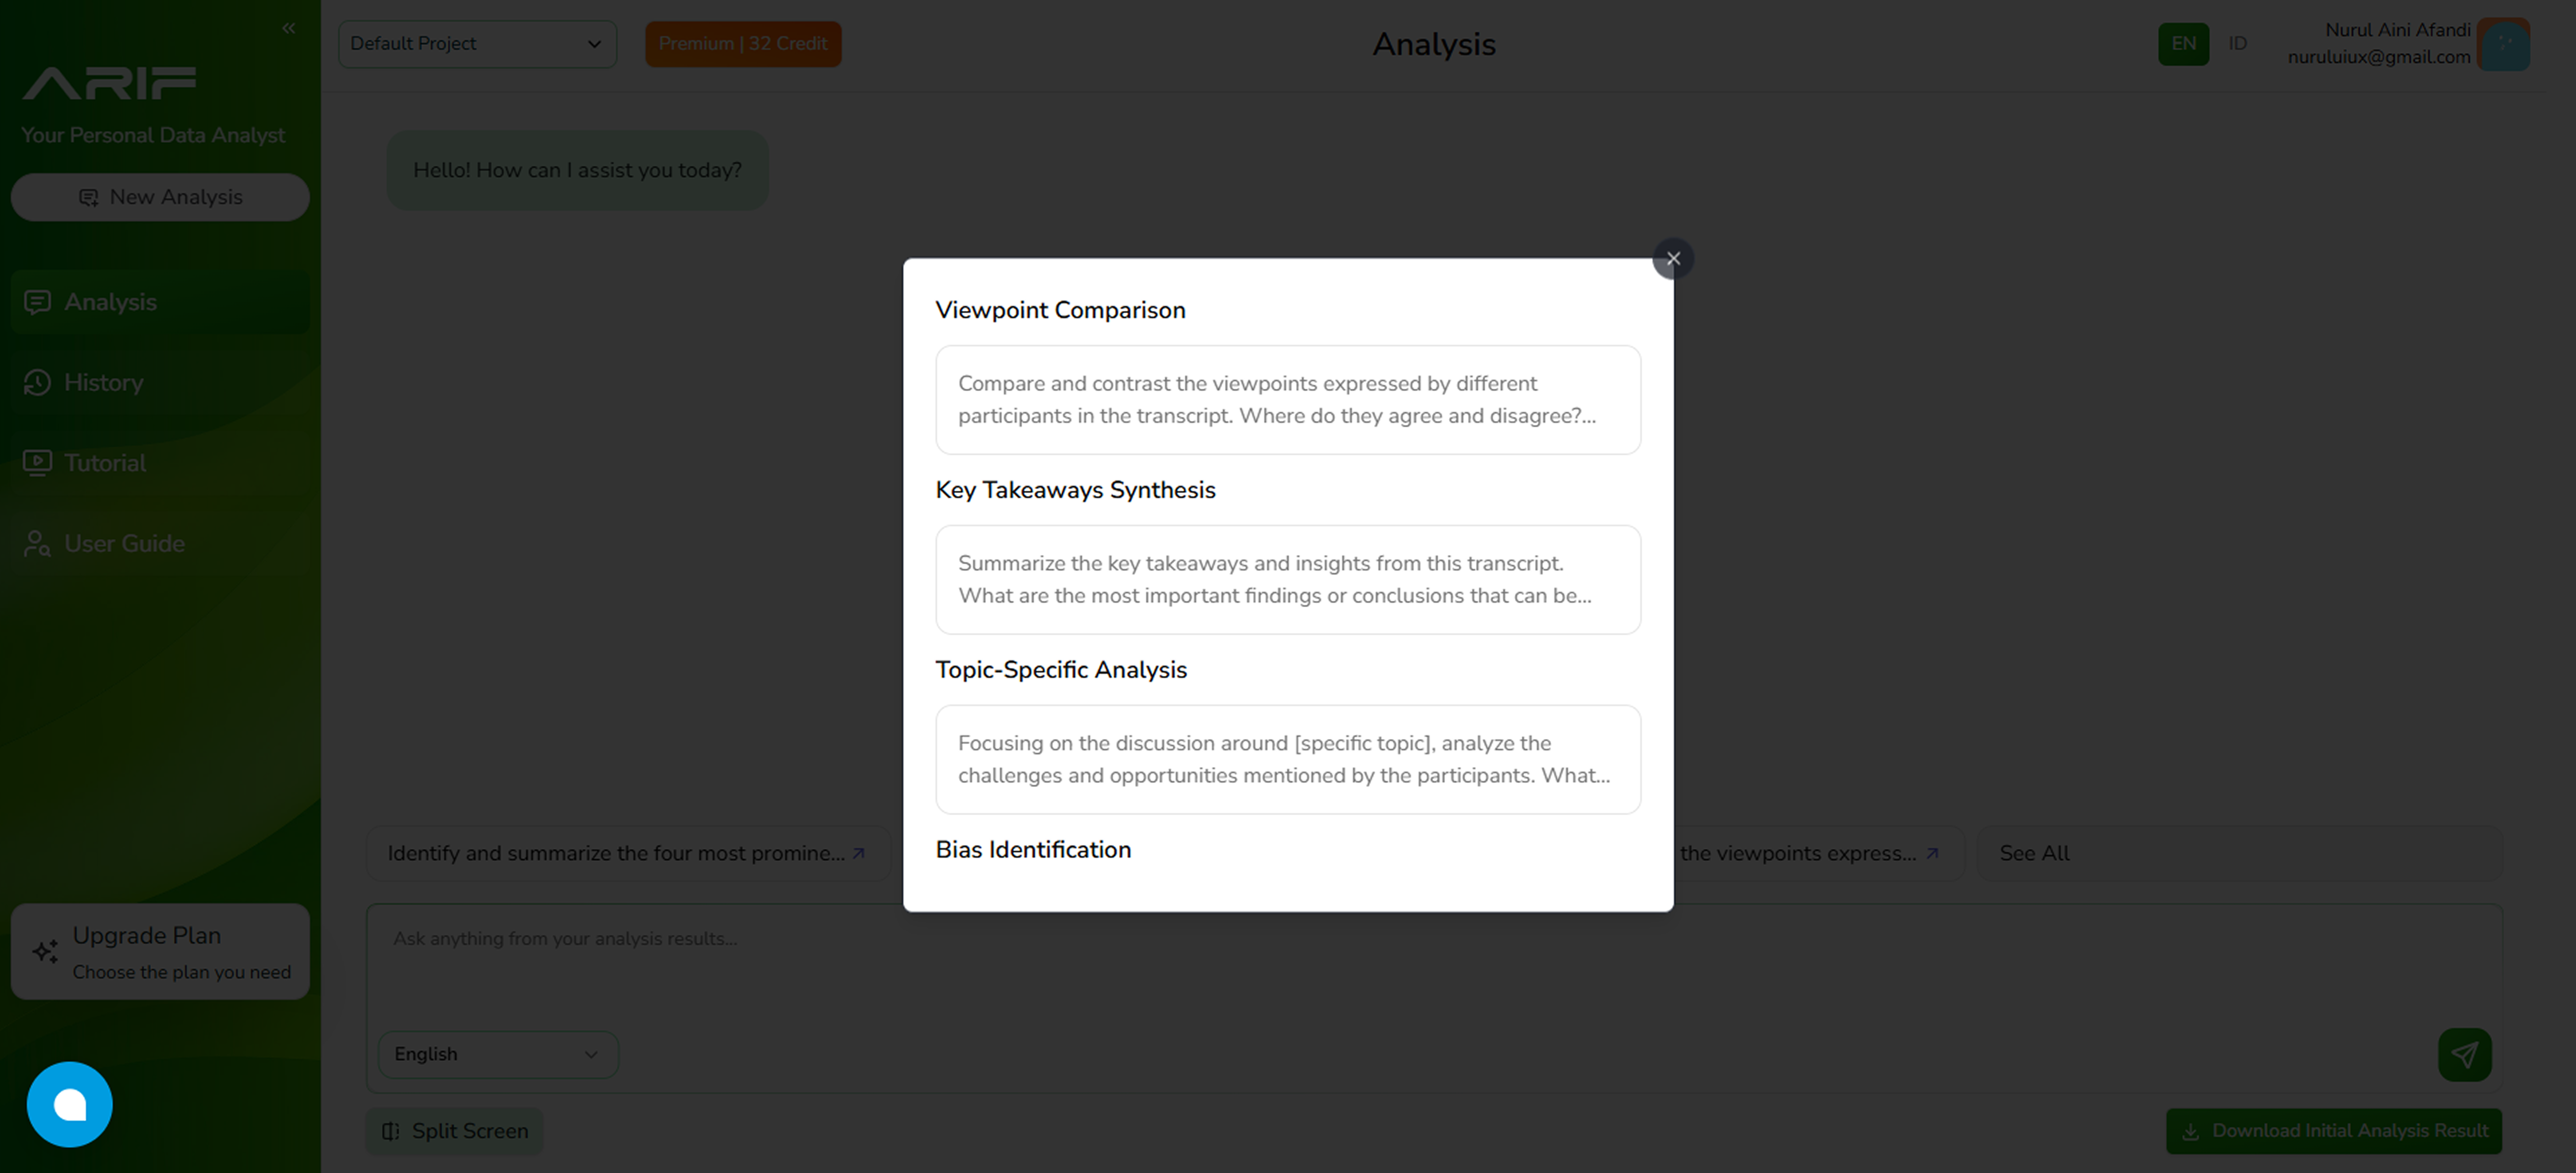
- Click the green arrow button to run content analysis and you will see the result on your screen.